Oftentimes we can benefit from utilizing a second monitor as a tool for presentations or as an additional workspace for editing photos and videos. Macs are known for being great in this area, which may account for the fact that so many users want to add a second screen for Mac. This can be achieved in two different ways. The first one is to make the second monitor an exact reflection of the main monitor. The other way is by having an extension monitor. This expands your workspace so it’s easier for you to multitask, as though you were working on one very large, very wide screen. Although the internet is an ocean of information, sometimes it’s hard to sift through it all to find what you’re looking for. So, we did the filtering for you and found the simplest ways to set up a second screen for your Mac.
How to Add a Second Screen for Mac

LCD Monitor
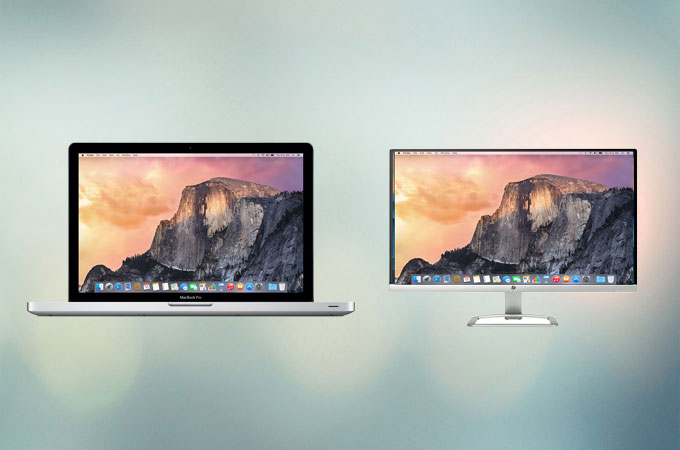
This method is common for graphic designers, video editors and other professionals working on multiple projects simultaneously. It can be done by connecting your Mac and LCD monitors which provides a continuous workspace for the user. This is a great setup when you’re working at home or the office. You don’t need to buy a new monitor just get a Mac second screen setup. A spare monitor at your home will do as long as you have the proper cable to connect both devices. To get started with the setup, here’s a guide you can follow.
- Find the appropriate adapter and cable that you need to help you connect your Mac and your monitor. If you own a 2015 MacBook Pro or older, you may connect it to your monitor using an HDMI cable. You will need a USB C to HDMI or USB C to DisplayPort adapter if you own the latest MacBook Pro or a 12-inch MacBook. For MacBook Air, you will need a mini DisplayPort to HDMI adapter.
- Now, turn on the monitor and plug in the cable on both devices.
- Once connected, click the Apple icon on your Mac followed by “System Preferences” and then head up to “Displays.”
- Afterwards, switch to “Arrangement” tab. From here, you can set up which one should work as your main display. Simply click and drag the white menu bar on the monitor you prefer to act as your main screen.
- After setting up your Mac second monitor, you can now edit documents side-by-side, drag apps from one monitor to another, and multitask much easier.
Duet Display
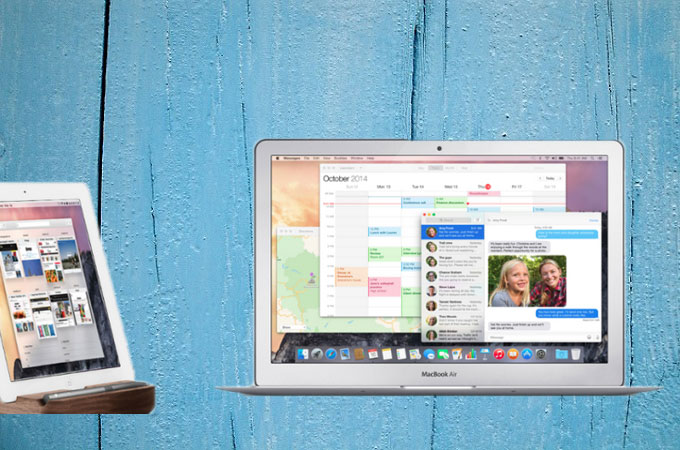
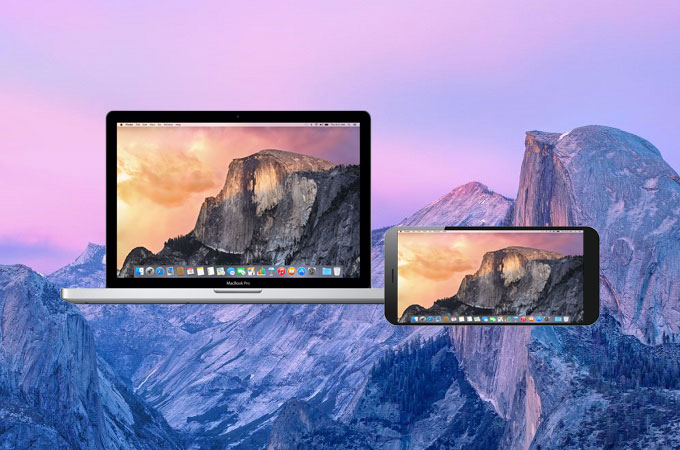
Another alternative you may consider when you want to add a second screen to your Mac is Duet Display. This is an application which is available for iOS devices such as iPhone and iPad. With iPad’s screen display, this app can do wonders when paired with your Mac computer. Though an iPad is not as good as an actual monitor, it does provide convenience because you can carry this around wherever you are. Along with that, it lets you interact with your Mac with touch and gestures like zoom, pan and so on, and these devices were meant to work together. If you are a vlogger who likes to travel to different places, this app is recommended for you because you can easily edit your videos using the extra display of your iPad. To begin setting up your iDevice as a second screen for MacBook, follow the simple guide below.
- Download and install the app from its official site on your Mac. Also, you need to install it from the App Store on your iPad or iPhone.
- Launch the program both on your Mac and iOS device.
- Connect your iPad to Mac using a lightning cable.
- Once your device is detected, your display should be expanded across two screens.
ApowerMirror
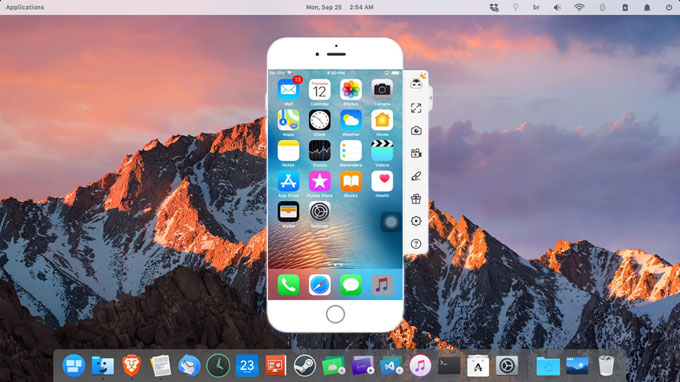
ApowerMirror is a well-known screen mirroring app which lets you mirror your Mac to Windows PC with just a few simple steps. Along with that, you can use this tool to mirror your iPhone or iPad on your Mac and Windows PC. Previous methods allow you to extend your screen across two monitors, whereas this next approach lets you reflect the on-screen display of your screen to another computer screen. Even more, it is loaded with useful features like recording screen activity, Gamekeyboard function, and annotation just to name a few. This doesn’t help out with multitasking as much but it’s great for streaming, videos, photos, or gameplay on a much wider screen. On the other hand. Follow these steps to add a MacBook second screen using ApowerMirror.
- Download the app on your second monitor and install. Launch the program and make sure to connect both devices on the same wireless network.
- On your Mac, click the Apple menu > System Preferences > Displays.
- Click the “AirPlay Display” and select the name of your second monitor.
![ApowerMirror]()
- By then, you should see your Mac screen on the secondary display.

Conclusion
No matter which method suits your needs best, all of them can help you add a second screen for your Mac. Depending on your day-to-day business, one option may be a better fit than the others. If your work requires multi-tasking, then the first two methods are good options. On the other hand, if you are conducting an important presentation or you want to stream media on a bigger screen without the need for hardware or cables, go with ApowerMirror.

Leave a Comment