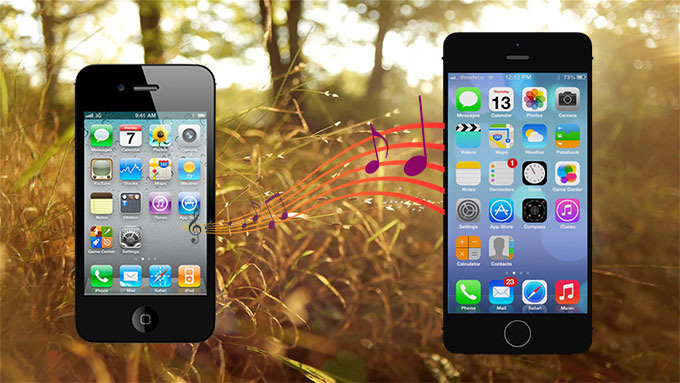
Are you planning to buy the newest and sexiest iPhone ever invented which is the iPhone 5S? Eyeing for that funny and lively iPhone 5C? You have all the freedom in the world to change phones as often as you want. However, shifting from your old iPhone to the new one is always a painstaking moment. Transferring your files such as videos, photos, messages, emails and most importantly music is indeed challenging.
Being a portable music player that can house literally thousands of songs, no wonder why most people acquiring newer versions of Apple’s smartphone are having difficulties transferring music from iPhone to iPhone. Luckily, there are wonderful programs you can use to make this whole meticulous process right on easily and conveniently. Read below to know more about them.
Two Ways to Transfer iPhone Music to iPhone
Way 1: Use Apowersoft Free Online iPhone/iPad/iPod Transfer
For those who don’t want to pay a single cent just to transfer iPhone 4 music to iPhone 5C or to 5S, you can use this “Online iPhone/iPad/iPod Transfer” tool. Being a web-based app, the Online iPhone/iPad/iPod Transfer doesn’t need installing and it is 100% free with no registrations, memberships or sign-ups required. With this app you can transfer all your old iPhone stuffs to the new one such as photos, videos, iBooks, apps, documents, music and more. Equally, the Free Online iPhone/iPad/iPod Transfer tool allows you to easily manage iOS contents. From media to applications, you can move, copy, transfer, uninstall or delete them according to your desires.
Using this free online program to transfer iPhone music to iPhone is pretty simple. Moving audio files can be accomplished in two parts, check out the instruction below.
Part 1: Transfer music from old iPhone to computer
- Visit Free Online iPhone/iPad/iPod Transfer website and click “Launch Application”.
- A java notification pop up will appear and click “Allow”.
- Connect your old iPhone to PC using USB cable.
- After automatic device recognition, click “Music”.
- Select the songs you wish to transfer.
- Tap “Export” button to save it on your PC.
Part 2: Transfer music from computer to new iPhone
- Launch Free Online iPhone/iPad/iPod Transfer on your PC.
- Connect your new iPhone to PC with USB cable.
- The device should be automatically recognized.
- To transfer music from iPhone 4S to iPhone 5S click “Import” button.
- Select the audio files you wish to move.

Aside from easy transferring music files, the Free Online iPhone/iPad/iPod Transfer is moreover equipped with three free tools. The MP3 player, file editor and ringtone maker. This online application supports not just iPhone but also iPod and iPad running on all versions of iOS. Both Windows and Mac users can use this tool to move music files easy and best of all free.
Way 2: Use Phone Transfer
If you don’t want to undergo the above part 1 and part 2 of transferring music from iPhone to iPhone, there’s a better alternative. Phone Transfer is specifically designed to transfer files between phones super easily. It supports a vast array of smartphones running Android, iOS, Symbian and Blackberry OS. With Phone Transfer, you can move all your apps, photos, videos, SMS, full contacts, music and more fast and effortlessly.
How to transfer music from iPhone to iPhone using Phone Transfer is simple, just:
- Download and install Phone Transfer on your computer.
- Connect both your old iPhone and new iPhone to PC using USB cables.
- Both devices would be automatically recognized.
- The “Source” should be your old phone with the new one being the “Destination”.
- On the middle pane tick “Music” box and click “Start copy”.

Really that easy and you can now transfer all your stuffs from your old mobile phone to the new one. Additionally, you can use Phone Transfer to back up the contents of your device. If you lose files on your phone by accident, you can easily retrieve them by choosing “Restore from Backups”.
Other ways to transfer iPhone music
Aside from the two methods mentioned above, there are other ways to transfer music from iPhone 4S to iPhone 5S or 5C. For those running iOS 5 or later and don’t want to use cables to move contents, you can use iCloud to wirelessly transfer your stuffs. On the other hand, owners of older iPhones can use iTunes to transfer mobile files. Note that iCloud requires stable internet connection when you need to have your old iPhone backed-up.
The use of iCloud and iTunes doesn’t require third party applications or desktop programs installed on your PC but clearly they are not for novice users. Both of them are tedious to operate, you need to back up your device, make sure that the new phone is not set as “new phone” on your Apple account, not all files are guaranteed to be transferred, etc.
There are free transferring programs way easier to use than iTunes or iCloud like the Free Online iPhone/iPad/iPod Transfer. It is 100% free with no hidden cost or limitations, and you don’t need to install it on your computer. For the easiest and most convenient tool, Phone Transfer is perfect because it can transfer iPhone 4 music to iPhone 5C simultaneously saving both your time and effort.


Leave a Comment