When it comes to owning a new computer, one of the best choices you can have right from the start is definitely purchasing a MacBook Pro. This laptop offers you not only a lot of portability, but also a lot of processing power that you can use in order to complete just about any type of task. If you want to make the most out of your MacBook Pro usage experience however you do need to ensure that you know how to Screenshot on MacBook Pro as this is an essential thing to do if you are at home or at the office and want to share your experience with others.
The following video will teach you how to make screenshot on Macbook Pro easily.

Alongside the aforementioned uses, a MacBook Pro screenshot can also be used for a wide range of other purposes, such as documenting a certain process, keeping track of changes or just monitoring your Retina MacBook Pro usage experience. No matter if you have a Retina MacBook Pro or a normal one, the screenshot taking process is pretty much the same. There are multiple methods you can use in order to get the job done, and in this article we are going to talk about the best ones!
- 1. Best Mac screenshot tool
- 2. Default way to take snapshot
- 3. Built-in Mac Grab way
- 4. Easy method with Jing
1. Best Way – Apowersoft Mac screenshot
If you want to take more than a screenshot during the day, then you need a professional tool to do the job right and Apowersoft Mac screenshot definitely fits the bill. This is a compact app that provides you with two different screenshot modes. With this tool you can capture the whole screen, or you can capture the content of web pages, webcams, app windows or just about anything you can on your screen.
If you want to make MacBook Pro screenshot in a professional manner, then this is the best tool you can choose since it brings you ease of use, a stellar interface as well as a simple method of taking pictures. You just need to enter the app, select the desired screenshot mode and the region you want to grab, and that’s it. This not only provides a stellar experience right from the start but it’s also capable of editing your screenshots as well. In details, you can change the color of the background, add annotations, modify some of the content to make it funny and so on because of that you are bound to like it for sure.
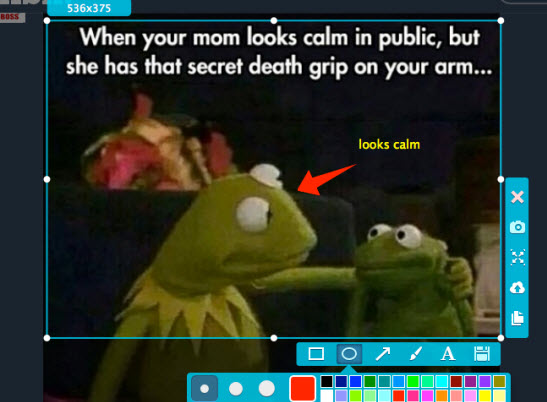
What makes Apowersoft Mac screenshot different is the fact that you get all the tools you need for a complete and professional screenshot taking experience right under your fingertips. Working with this app is not only simple, but it’s something that can easily integrate into your daily workflow. So, if you want a reliable MacBook Pro screenshot maker, then this application is the best choices in the whole list.
2. The normal way to take screenshot on MacBook Pro
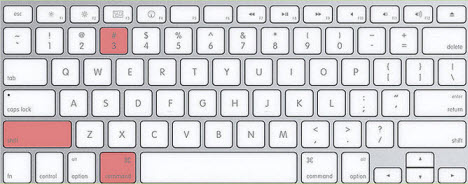
If you want to take screenshot on MacBook Pro then you need to know that you an easily do that with the help of those tools integrated right into the operating system. If you want to take a full-screen screenshot all you need to do is to hold down both the “Command” and “Shift” keys, then gently press “3”. You will hear a shutter sound when you take the picture, something that will tell you the shot has been taken and it will be saved on your screen to be shared, published or edited at you see fit. By default, this is saved as PNG but with a few clicks you can change that to other formats such as JPEG for example.
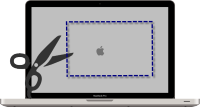
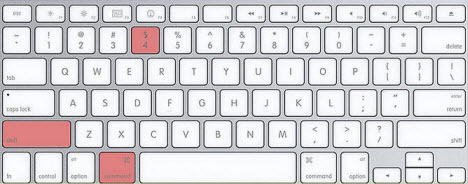
If you want to take a screenshot of a selection rather than full-screen, then you still need to press and hold “Command” and “Shift”, but this time you have to press “4” and then select the region you want to take a shot for. In addition, the OS also provides you with the ability to take a sceenshot for a window, and in order to do that you need to use the same key combination above, and at the same time press Space.
3. The dedicated Mac Grab way
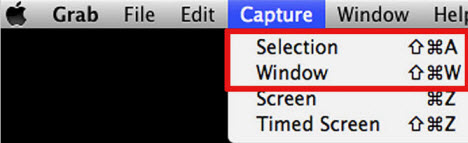
Grab is a tool that has been created specifically by Apple in order to help you take screenshots. Included within it you can find a marquee selection, as well as tools to perform full-screen, region or even timed screen captures. This particular tool can be found in the Applications folder and it comes preinstalled with the operating system which is very useful! In order to use this app, all you need to do is to open it then select the capture options which can be selection, window, screen or timed. The problem here is that there aren’t that many extra features, such as rendering for example.
4. A lightweight method with Jing
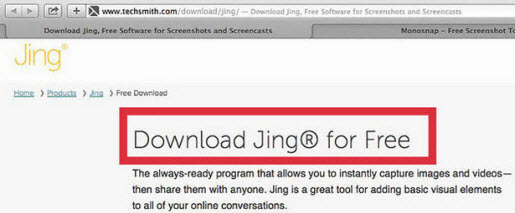
Jing is a tool that was created with the idea of taking images and sharing them with others. Unfortunately, it doesn’t manage to go well beyond that scope, but it still is a good alternative if you want to capture what you see on the screen right now or if you want to record it. Sure, Jing doesn’t offer any editing and not even annotation support, but for the barebones experience of capturing a screenshot this tool might be worth a shot.
Conclusion
As you can see, there are multiple tools you can use in order to do the screenshot task. You should peruse all of them to see which one suits your needs, but if you want to perform screenshots quickly and with complete reliability, aided by a wide range of editing tools that are always at your disposal, we recommend you to check out Apowersoft Mac screenshot. This is by far the most impressive and useful tool you can use for all those situations when you want to screenshot on MacBook Pro!

Leave a Comment